How do I track equipment and tools?
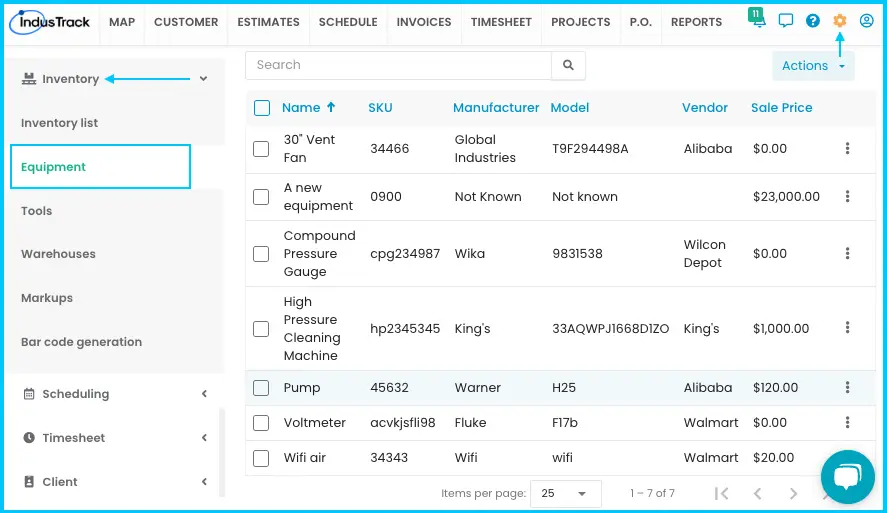
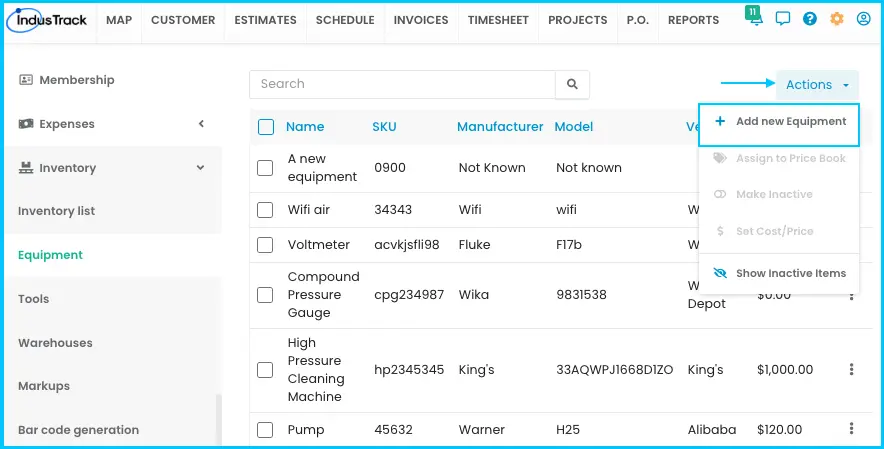
Go to Settings›Inventory›Equipment for equipment you use or sell, or Settings›Inventory›Tools for the tools your team uses. Click Actions and choose + Add New Equipment or + Add New Tool, fill in the details and click Save.
Equipment or tool?
| Equipment | Tools | |
|---|---|---|
| What it is | Long-term assets your company uses or sells, managed like inventory. | The tools your team uses, so you know what you have and where it is. |
| Has price and accounts | Yes (sales price, cost, income, expense and asset accounts). | Not part of the tool form. |
| Stock and serial numbers | Quantity on hand, or serial numbers. | Serial number(s). |
| Deactivate | Yes. | No; tools can only be deleted. |
Add equipment
-
Go to Settings›Inventory›Equipment and click Actions›+ Add New Equipment. You can also start from Settings›Inventory›Inventory List with Actions›Add New Equipment; it opens the same window and saves to the Equipment list.
-
Fill in the general information:
- Name (required)
- SKU (required): the equipment code.
- Picture (optional): up to 15 MB.
- Manufacturer (required)
- Model (required): the model number or code.
- Vendor: pick one, or type a new name to add it.
- Quantity on Hand (required): enter 0 if you have none.
- Reorder Point: the minimum quantity before you restock.
- Asset Account, Income Account and Expense Account: pick or type.
- Non-Taxable: check if the equipment isn't taxable.
- Sales Price/Rate and Cost: per unit.
- Sales Description and Purchasing Description (for example, lead time).
Watch: Filling in the equipment's general information -
To track serial numbers (optional, recommended):
- Go to the Serial Numbers tab and click Add New Batch.
- Enter the Expiration Date (if it applies) and the Serial Numbers. You can add several.
- Click Add Batch.
- Serial numbers override the Quantity on Hand, which becomes read-only. IndusTrack then tracks the equipment by its serial numbers instead of by inventory quantity.
Watch: Adding a batch of serial numbers to equipment -
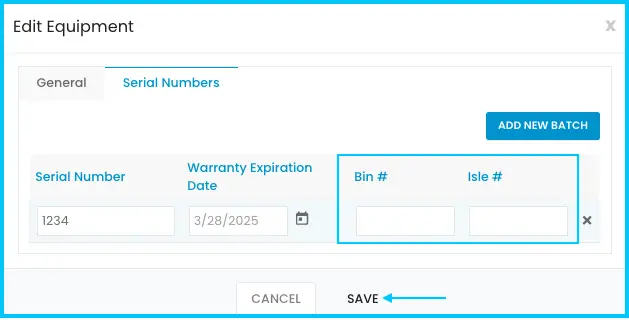
If you know where it's stored, enter the Bin # and Isle #.
-
Click Save. The equipment is added to the Equipment list.
Edit, deactivate, reactivate or delete equipment
-
Edit: click the row, or the 3-dot menu›Edit. Make changes and click Save. To change the picture, click Choose File; to remove it, click the X next to the image name; then Save. Inactive equipment can't be edited.
Watch: Editing equipment and changing its picture -
Deactivate: check one or more items, click Actions›Make Inactive (or use the 3-dot menu) and confirm. Deactivate equipment you no longer use rather than deleting it.
Watch: Making equipment inactive -
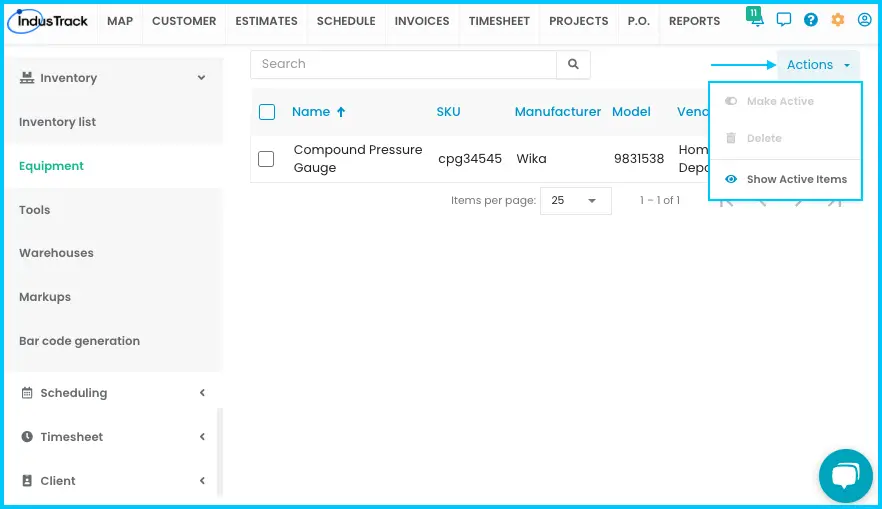
Reactivate: click Actions›Show Inactive Items, check the items, click Actions›Make Active (or use the 3-dot menu) and confirm.
Watch: Making inactive equipment active again -
Delete: only inactive equipment can be deleted. In the inactive list, check the items, click Actions›Delete and confirm. Deletion is permanent and can affect other parts of the system.
Watch: Deleting inactive equipment
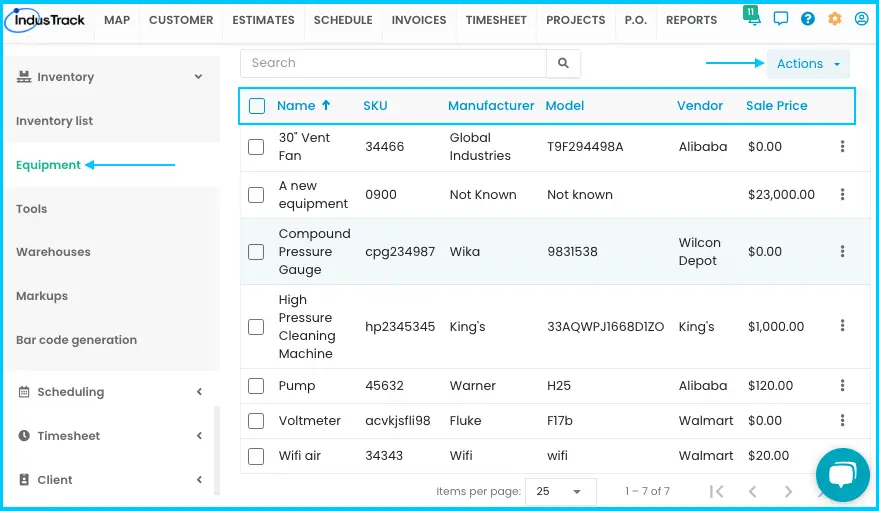
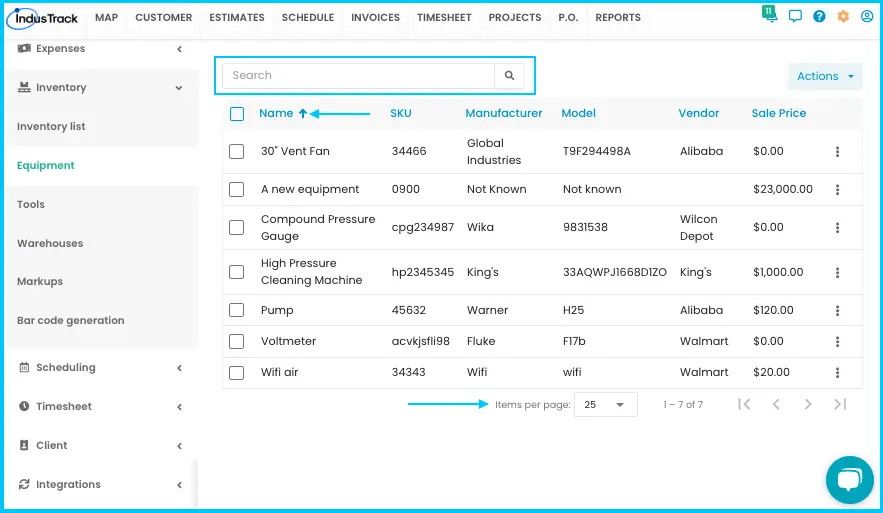
The Equipment list shows Name, SKU, Manufacturer, Model, Vendor and Sale Price. Search by name or SKU, and choose 10, 25, 50 or 100 per page. To add equipment to a pricebook, the PriceBooks feature must be turned on. Go to Settings›PriceBooks›Flat Rate Pricebook, add the equipment and assign it to the right pricebook category. See How do I set up my pricebook?
Add a tool
-
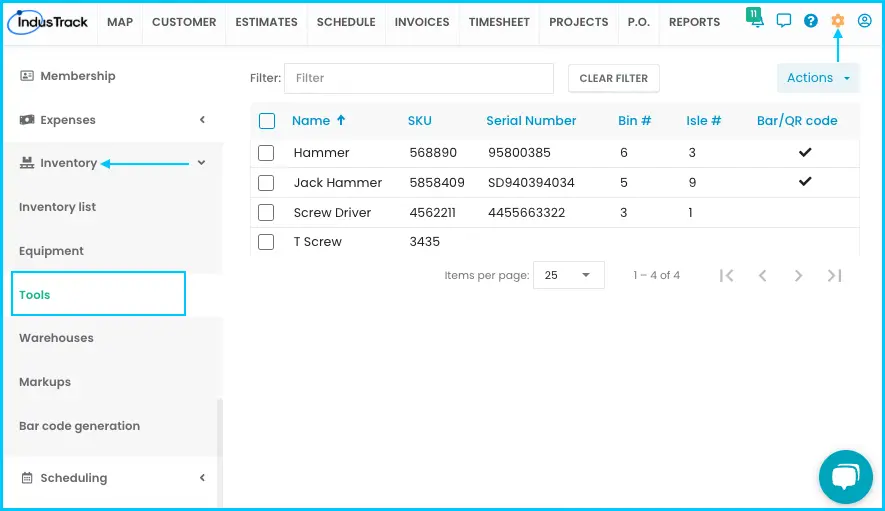
Go to Settings›Inventory›Tools.
-
Click Actions›+ Add New Tool.
-
Fill in the details:
- Name (required)
- SKU (required): product or part number.
- Picture: if you have one.
- Manufacturer and Model
- Serial Number: one or more.
- Bin & Aisle: where it's stored, if needed.
- Description: a short summary.
-
Click Save. The tool appears in the list.
Watch: Adding a new tool
Edit or delete tools
-
Edit: click the tool, make your changes and click Save.
Watch: Editing a tool -
Delete: check one or more tools (or the box at the top of the Name column for all), click Actions›Delete and click Yes.
Watch: Deleting one or more tools
Common questions
What if I add equipment with a name that already exists?
A message asks whether to continue. Yes creates a second item with the same name. No cancels.
How do I print tool labels?
In the tools list, check the tools (or the box at the top of the Name column for all), then click Actions›Print Labels. See How do I print barcodes?
Can tools be added to a job?
Yes. When you create a job, you can add the Tools the crew will need as attachments. See How do I create and schedule a job?
Was this article helpful?
Contact support